Screener Account and Team Management
The Screener visual testing solution is going to be discontinued on May 31st, 2024. You can migrate to the new Sauce Labs Visual Testing solution by following the integration steps.
If you have any questions, please reach out to your Customer Success Manager or Sauce Labs Support.
Teams Management allows you to create Teams for your Account, add users to your Teams, specify user roles, and specify which projects users have access to. In addition, you can assign a user to be an administrator for your Screener Account.
1. Add an Account Name
Before you can add teams to your account, you must give your account a name. This name is globally unique in Screener.
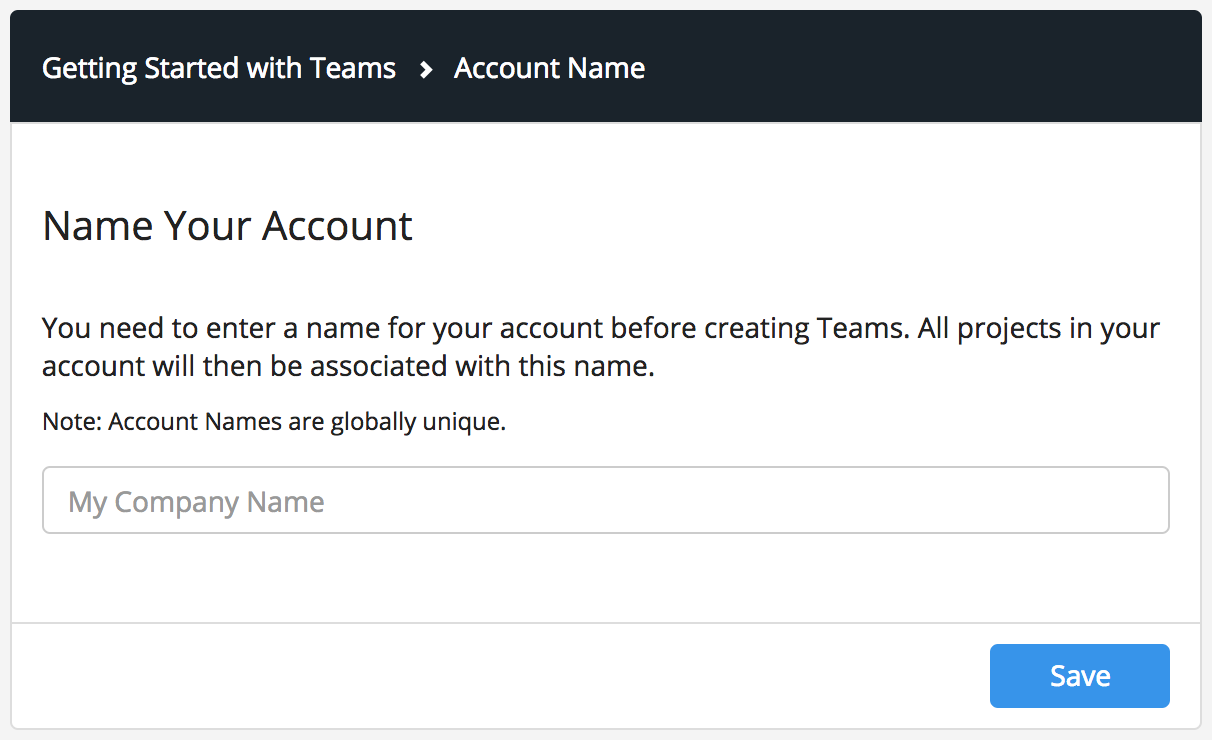
Your account will be named My Account temporarily until you name your account.
2. User Roles
Before you create a team, it is useful to understand the different user roles in Screener. The table below identifies the features that are accessible for each role.
| Viewer | Tester | Administrator | Account Owner | |
| View Projects & UI States | x | x | x | x |
| Change Status of UI States | x | x | x | |
| Delete Branches | x | x | x | |
| Add/Delete Projects | x | x | ||
| Manage Teams | x | x | ||
| Manage Billing Information | x |
Every Screener user has an individual account and will be the Account Owner for their own account. When a user is added to a team in another user's account, they will have access to the project(s) as defined by their role in the team.
When a user is added as an Administrator, this user will have access to all projects within the account. There is no option to add a specific project to the team that has an Administrator role. Administrators have access to add/edit/delete projects.
If a user is assigned to more than one team with different roles, and there is a common project(s) between the teams, the highest role/permissions will be assigned to that user.
3. Create a Team
Creating a team will allow you to specify which users have access to a specific projects. You will then assign a role to the team, allowing all users in the team to have certain permissions.
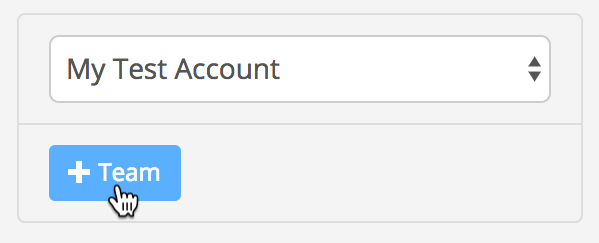
To add a new Team, click on the + Team button.
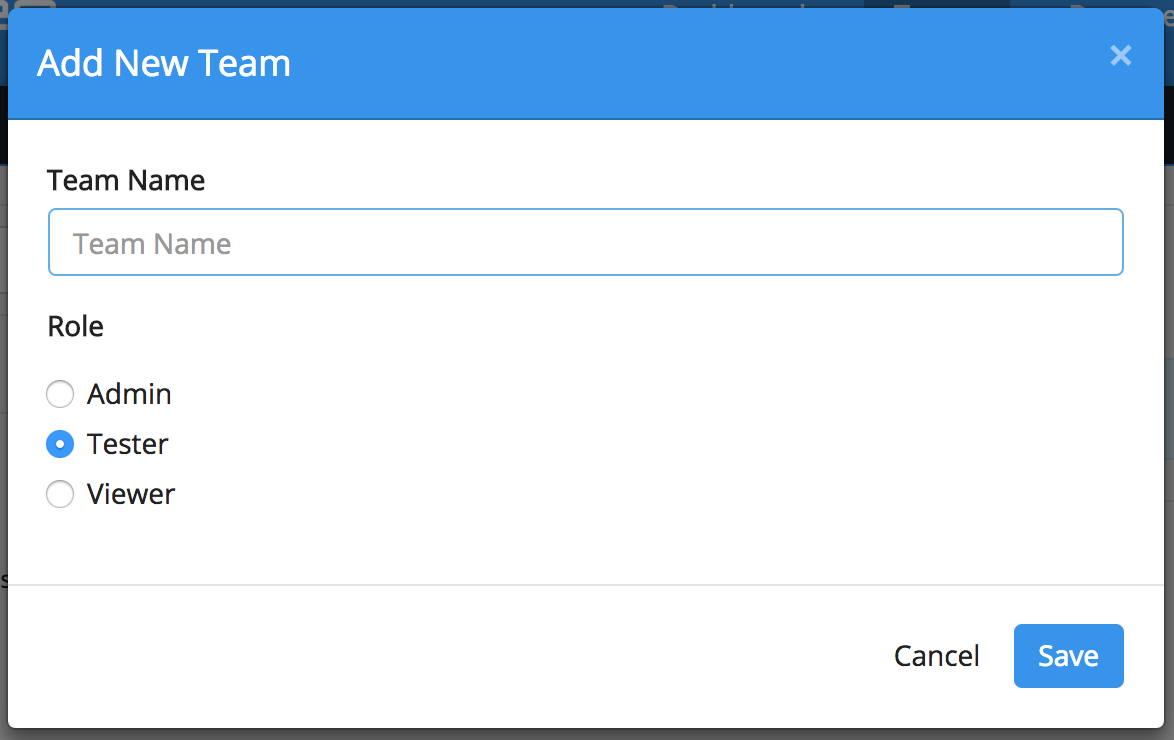
Enter a team name, select the appropriate user role, and click Save.
4. Add Users to a Team
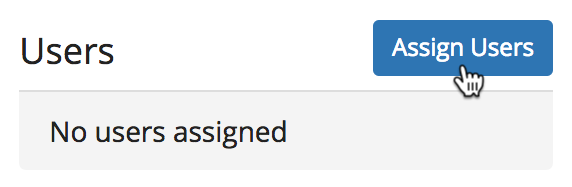
After a team is created, you can add users to a team. Click on the team you wish to add a user to, and click on Assign Users.
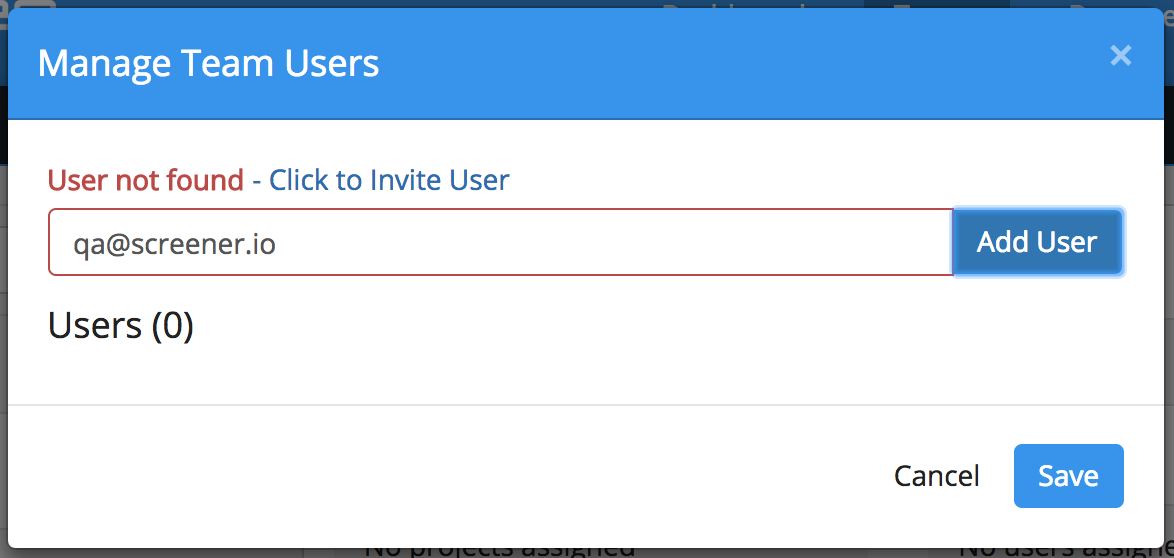
The Manage Team Users dialog will appear. Type the user's email address into the text box and click Add User. At this point, Screener will check to see if the user already exists in the system. If the user already exists, their email address will be added to the list of users below. If the user does not exist, you will be asked to invite the user by clicking Click to Invite User.
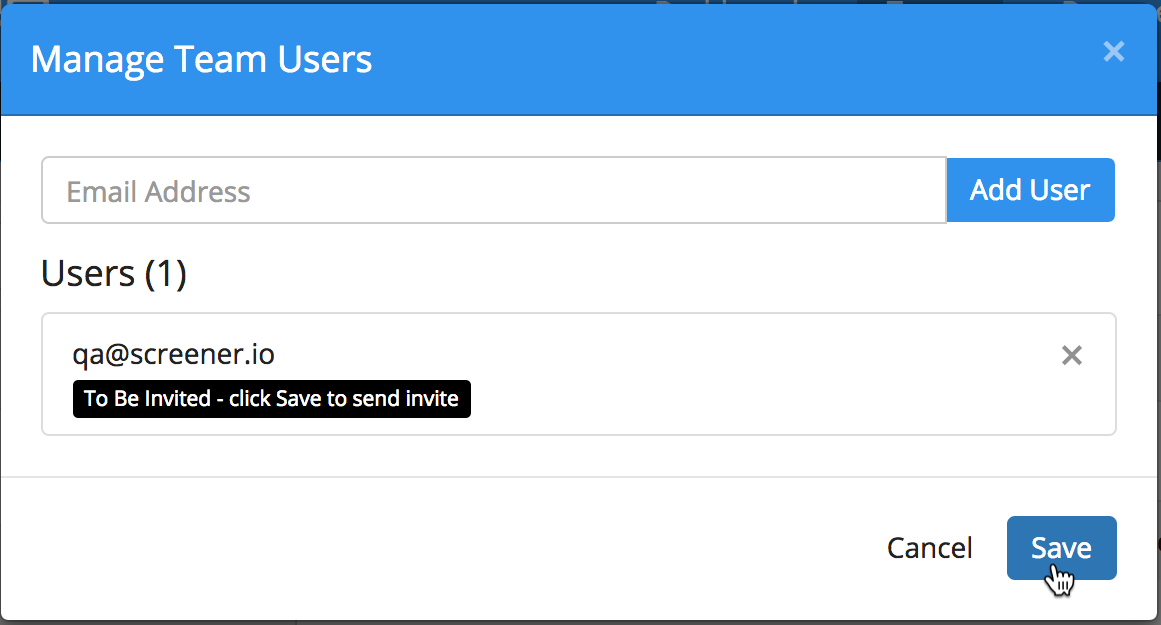
You will see the user added to the list. For new users, you will see To Be Invited beside the user's email address. This highlights new users to the system. Click Save to save the user to the team.
For new users who are invited to join Screener, they will receive an invitation email. They can follow the instructions in the email to complete the registration process. When they are registered, they will have access to your project(s).
5. Assign Projects to a Team
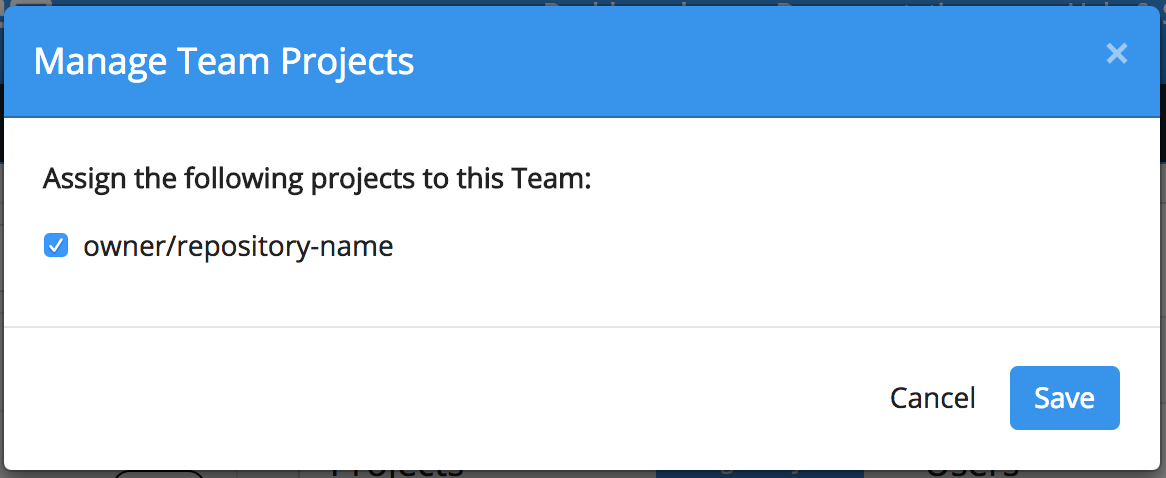
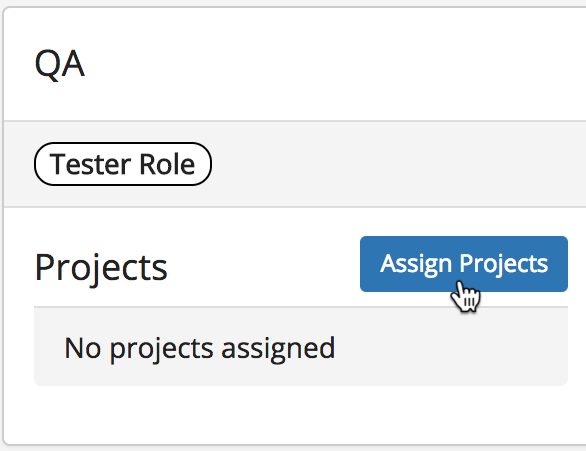
Assigning projects to a team allows users of the team to have access to the specified projects. To add a project to a team, in the Team Management page, click on the team you wish to add a project to, and click on Assign Projects.
The Manage Team Projects dialog will appear. Select the project(s) you wish to add and click Save.