I/O Request Test Components
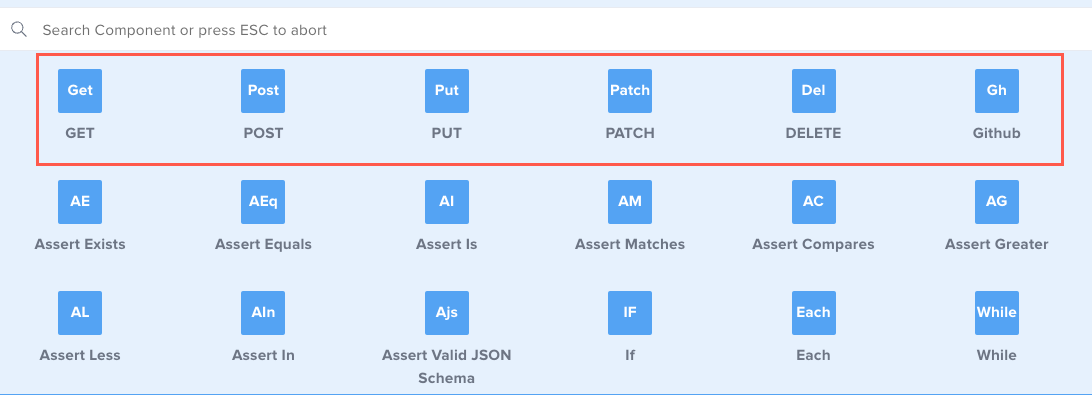
I/O request components enable you to perform the I/O operations GET, POST, PUT, PATCH, DELETE, Github, Contract Test, and File DataSource. This guide describes each component and shows you how to add them to tests. To learn how to access the components and create a test using the Composer see Writing API Tests with the Composer.
What You'll Need
- A Sauce Labs account (Log in or sign up for a free trial license).
- Familiarity with the API Testing Composer.
I/O Components
GET
Performs a GET method request. See Request Header, Query Params, Config, and Basic Authentication.
Code View Example
- id: get
  children: []
  url:
  var:
  mode:
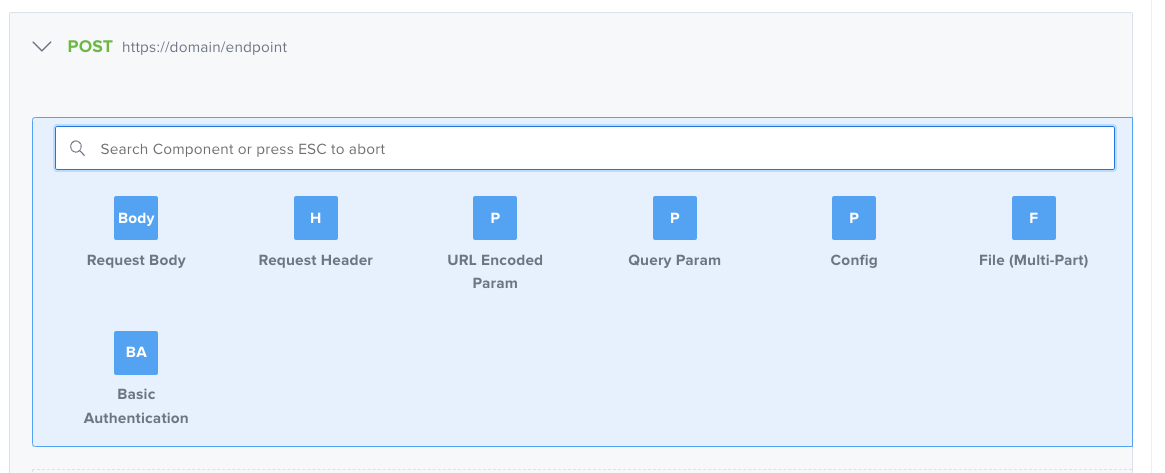
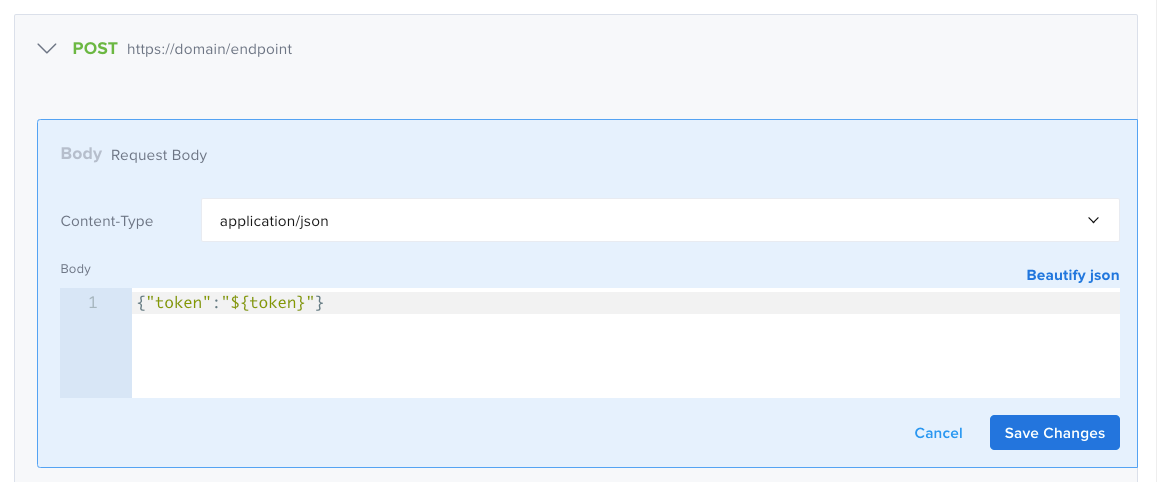
POST
Performs a POST method request. See Request Body, Request Header, URL Encoded Params, Query Params, Config, File (Multi-part), and Basic Authentication.
Code View Example
- id: post
  children: []
  url:
  var:
  mode:
PUT
Performs a PUT method request. See Request Body, Request Header, URL Encoded Params, Query Params, Config, File (Multi-part), and Basic Authentication.
Code View Example
- id: put
  children: []
  url:
  var:
  mode:
PATCH
Performs a PATCH method request. See Request Body, Request Header, URL Encoded Params, Query Params, Config, File (Multi-part), and Basic Authentication.
Code View Example
- id: patch
  children: []
  url:
  var:
  mode:
DELETE
Performs a DELETE method request. See Request Body, Request Header, URL Encoded Params, Query Params, Config, File (Multi-part), and Basic Authentication.
Code View Example
- id: delete
  children: []
  url:
  var:
  mode:
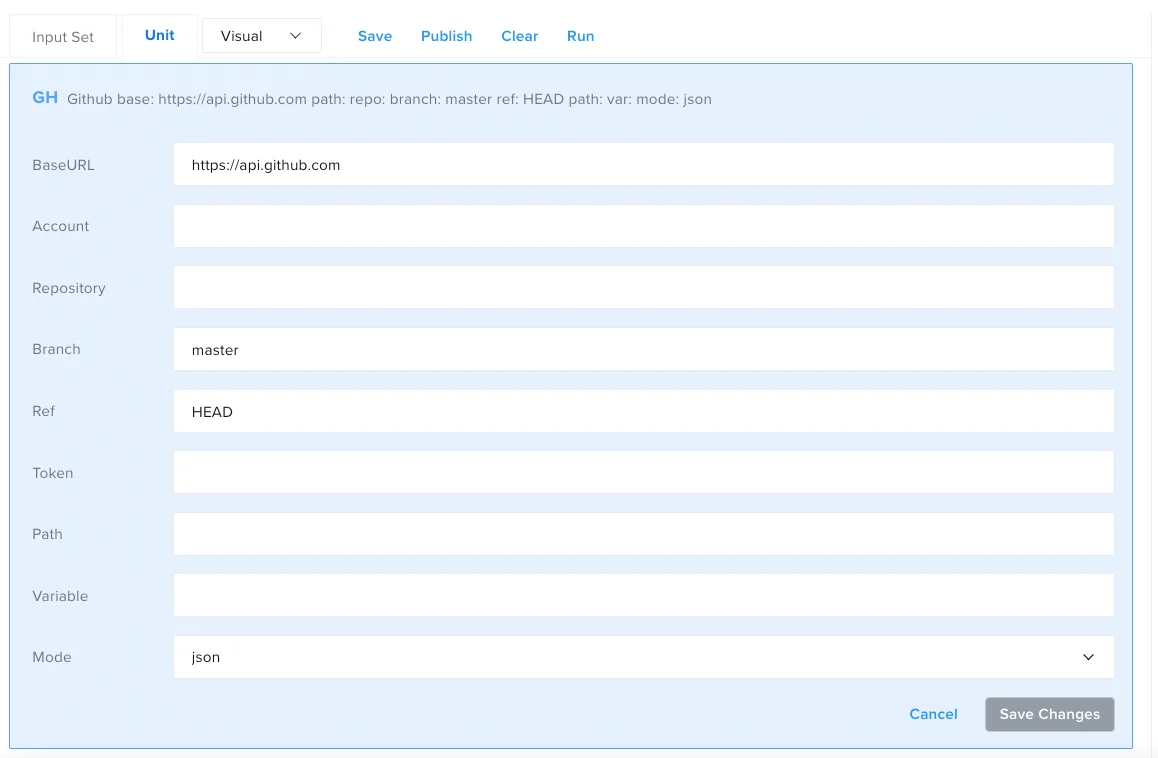
GitHub
The GitHub component is meant to simplify the process of retrieving a file from GitHub and using it as a data source. Some examples of files to use would be CSV or JSON files. Check Use Cases out to see an example using this component.
GitHub Enterprise version or GitHub AE are not supported.
Code View Example
- id: github
  baseURL: https://api.github.com
  account:
  repository:
  branch: master
  ref: HEAD
  token:
  path:
  var:
  mode: json
The Base URL, Branch, and Ref fields will auto-populate, but you can still edit them. You'll need to fill in the following fields:
| Fields | |
| Account | | REQUIRED | STRING | Your GitHub username. |
| Repository | | REQUIRED | STRING | The name of the repository that your data file is pushed to. |
| Branch | | REQUIRED | STRING | The repository branch that the desired version of the data file is in. |
| Token | | REQUIRED | STRING | The token described above, generated in the GitHub platform. |
| Variable | | REQUIRED | STRING | The variable that the payload will be stored under. |
| Path | | REQUIRED | STRING | The name of the file in the repository. |
| Mode | | REQUIRED | 'json', 'xml', 'html', 'text', 'csv' | The filetype of the file in the repository. |
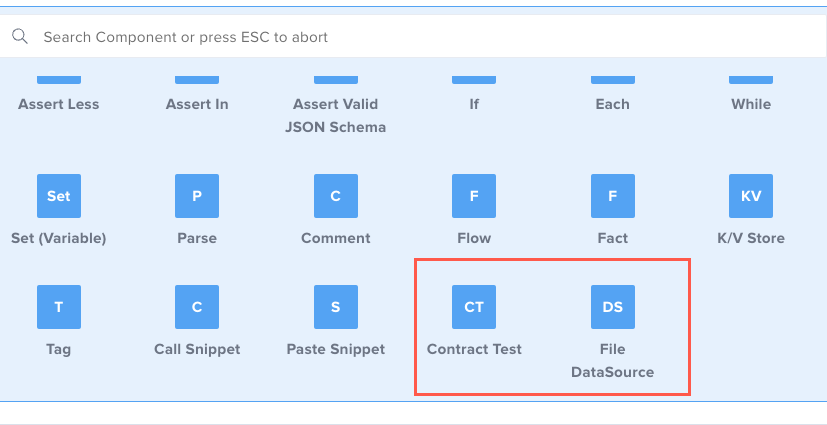
Contract Test
The Contract Test component allows you to test an open API specification file stored in the Vault.

Code View Example
- id: contract
  children: []
  openAPI:
  operationId:
  status:
  inclusionStrategy: required
| Fields | |
| openAPI | | REQUIRED | STRING | The open API file from the Vault Drive. |
| operationId | | REQUIRED | STRING | The operationId you want to use in your test. |
| Status | | REQUIRED | INTEGER | The status code you want to test. |
| Inclusion Strategy | | REQUIRED | 'Required', 'All' |
|
The Contract Test component has two child: the Include (Contract T.) and the Exclude (Contract T.).

Include (Contract T.) will include the specified OperationId, while the Exclude (Contract T.) will exclude the specified OperationId.
Include (Contract T.) is useful when used together with Inclusion Strategy set to Required because in this way you can test both the required fields and any other fields that are not required. Exclude (Contract T.) is useful to be used together with Inclusion Strategy set to All because in this way you can exclude some of the fields whether they are required or not.
Code View Example
- id: contract
  children:
  - id: include
    name:
    in:
  - id: exclude
    name:
    in:
  openAPI:
  operationId:
  status:
  inclusionStrategy: required
| Fields | |
| Name | | REQUIRED | STRING | The name of the field you want to include/exclude. |
| In | | REQUIRED | STRING | The place where the variable should be present (i.e. header|query). |
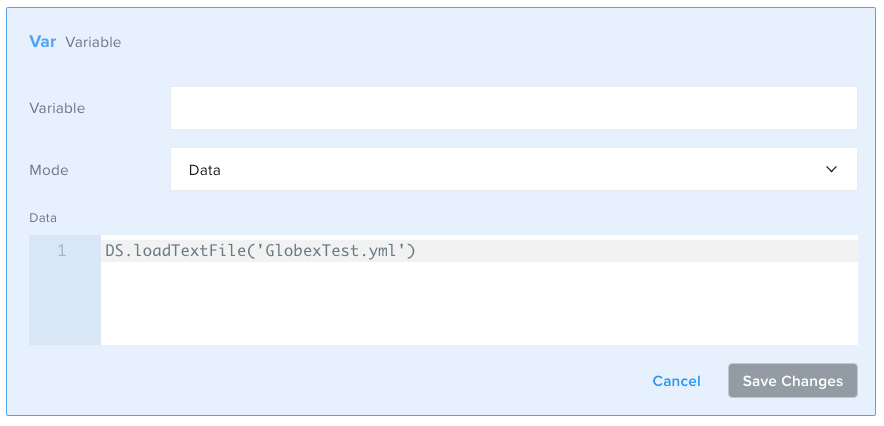
File DataSource
The File Data Source component allows you to use a file from the Vault as a data source. To learn more check the use case out.
Code View Example
- id: set
  var:
  mode: object
  object: DS.loadTextFile('GlobexTest.yml')
| Fields | |
| Variable | | REQUIRED | STRING | The variable name you want to assign. |
| Mode | | REQUIRED | STRING | Defaults to |
| Data | | REQUIRED | STRING | The file you selected as the data source. |
I/O Child Components
For all the Child Components the value can be:
- String value: the value will always be the same for all of the requests. To do so, enter the value in the related field.
- Variable: the value will be taken dynamically and could changed from time to time. To do so, enter the name of the variable between
${}
Request Body
- Click Request Body.
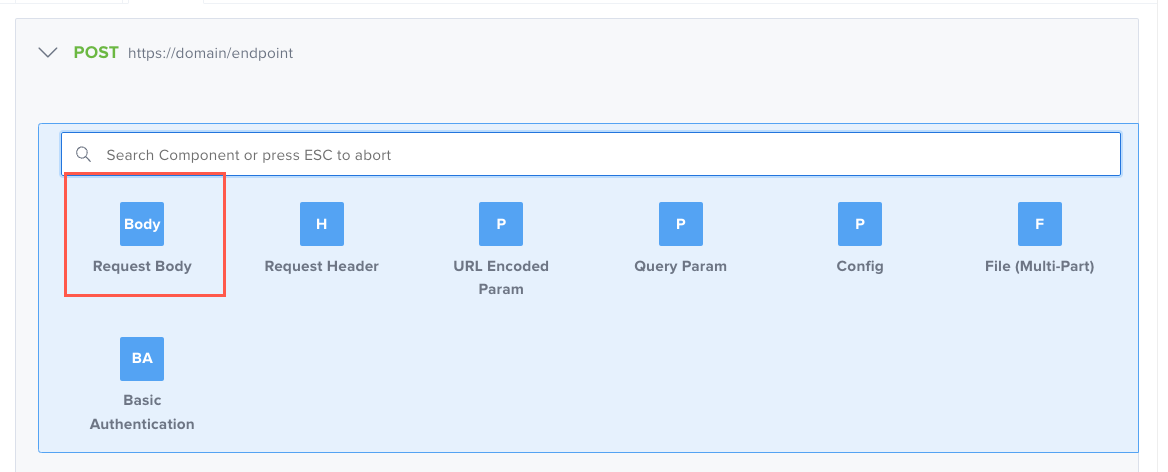
- Fill in the Content-Type and Body fields.
Code View Example
- id: post
  children:
  - id: body
    contentType: application/json
    content:
  url:
  var:
  mode: json
| Fields | |
| Content-Type | | REQUIRED | 'application/json', 'text/plain', 'application/x-www-form-urlencoded', 'text/xml'| The Content-Type for the body. |
| Body | | REQUIRED | STRING or VARIABLE | The Body you want to send with the request. |
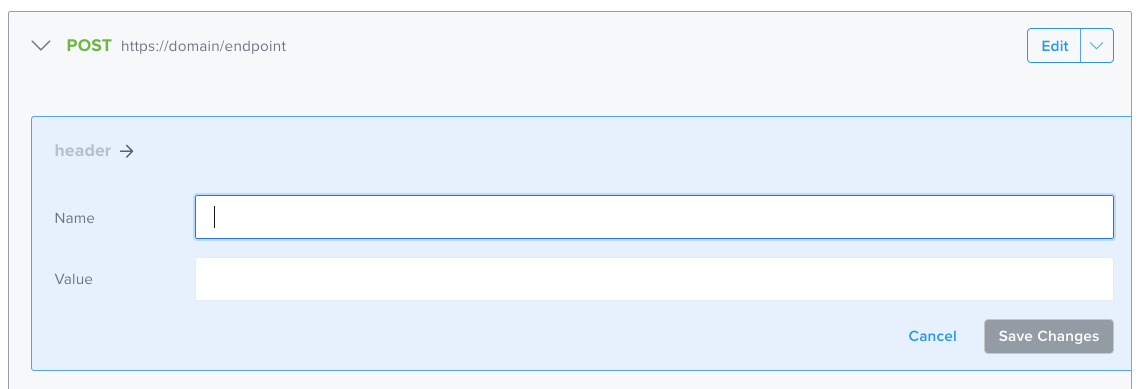
Request Header
- Click Request Header.
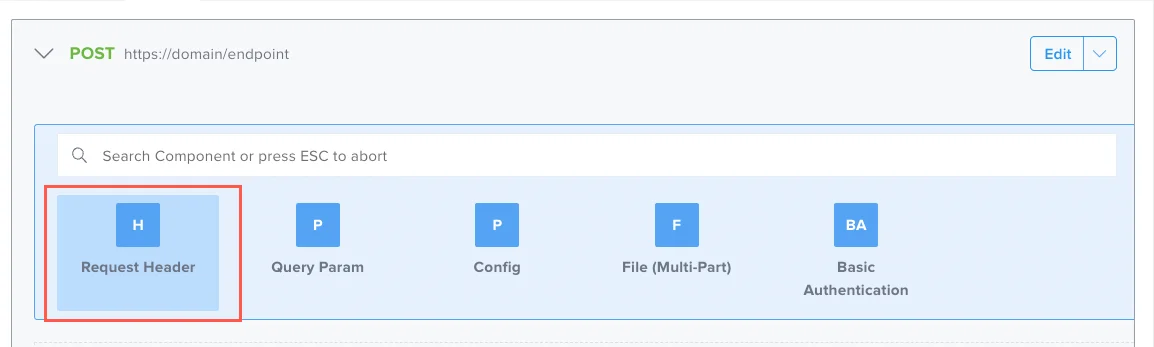
- Fill in the Name and Value fields.
Code View Example
- id: post
  children:
  - id: header
    name:
    value:
  url:
  var:
  mode: json
| Fields | |
| Name | | REQUIRED | STRING | The key you want to send in your request as Header. |
| Value | | REQUIRED | STRING or VARIABLE | The value for the key. |
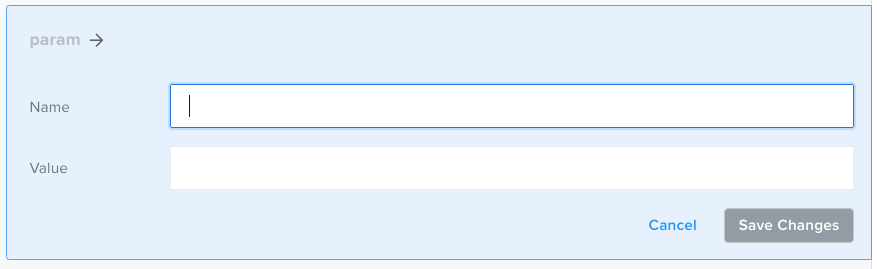
URL Encoded Param
- Click URL Encoded Param.
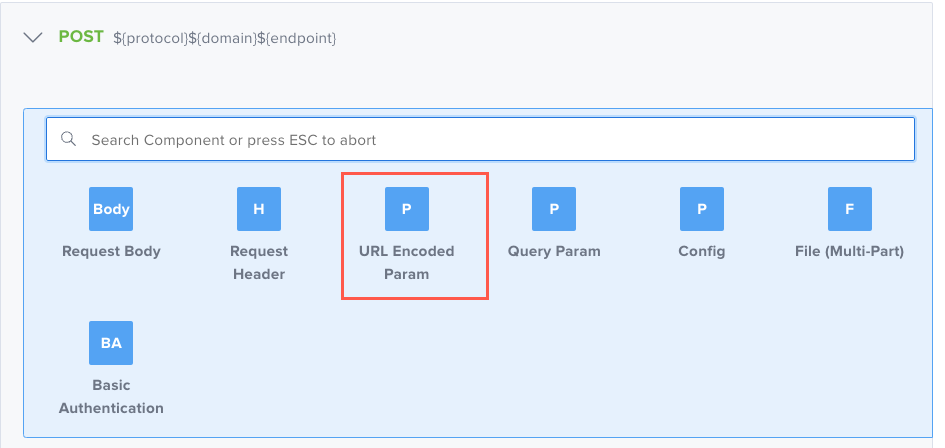
- Fill in the Name and Value fields.
Code View Example
- id: post
  children:
  - id: param
    name:
    value:
  url:
  var:
  mode: json
| Fields | |
| Name | | REQUIRED | STRING | The key you want to send in your request as an URL Encoded Param. |
| Value | | REQUIRED | STRING or VARIABLE | The value for the key. |
Query Params
| OPTIONAL |
This refers to the Query Param section. Enter any params you want to add to the query string.
- To add, click Query Param.

- Fill in the fields.

Code View Example
- id: post
  children:
  - id: queryParam
    name:
    value:
  url:
  var:
  mode: json
| Fields | |
| Name | | REQUIRED | STRING | The key you want to send in your request as a Query Param. |
| Value | | REQUIRED | STRING or VARIABLE | The value for the key. |
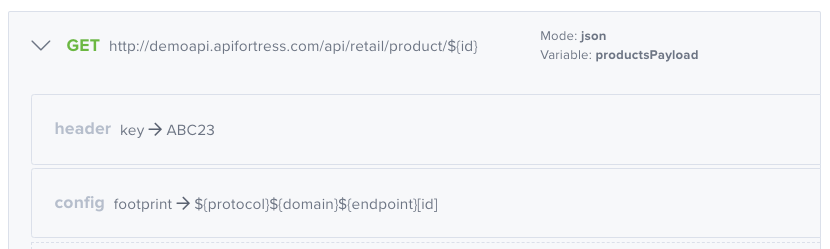
Config
This component allows you to add specific configurations in your I/O Component. Using the config component you can set up the footprints shown in the project dashboard, you can allow a call to (not) follow a redirect or you can set the timeout.
Code View Example
- id: post
  children:
  - id: config
    name:
    value:
  url:
  var:
  mode: json
Footprint
Consider a scenario where you are calling an API that shows the product details. The endpoint will look like this:
http://www.whereever.com/${id}/details
Running your test will produce something like this:
http://www.whereever.com/1/details
http://www.whereever.com/2/details
http://www.whereever.com/3/details
http://www.whereever.com/4/details
...
If you want to be able to easily find all those calls in the metrics, you can use a footprint.
To configure the footprint, in the test, add a config component to the I/O component:
| Fields | |
| Name | | REQUIRED | STRING | It must be |
| Value | | REQUIRED | STRING | The value for the configuration component. |
To set up a footprint, you can enter anything as value: it could be test name, the environment the test is running on, or it could be a random string that lets you identify those metrics. If you want to keep the "structure" of the endpoint but removing the variables you can wrap each variable in square brackets.
The value in this example would be:
http://www.whereever.com/[id]/details
For each endpoint, you can use more square brackets, one for each variable that could assume multiple values:
http://www.whereever.com/[whatever]/[id]/details/[colors]/whatever
When you write the value of the config, you can also call a variable as in any I/O operation:
${protocol}/${domain}/[whatever]/[id]/details/[colors]/whatever
Timeout
Using the config component you can also change the timeout setup. In order to do so, you can add the config component in the I/O request as follow:
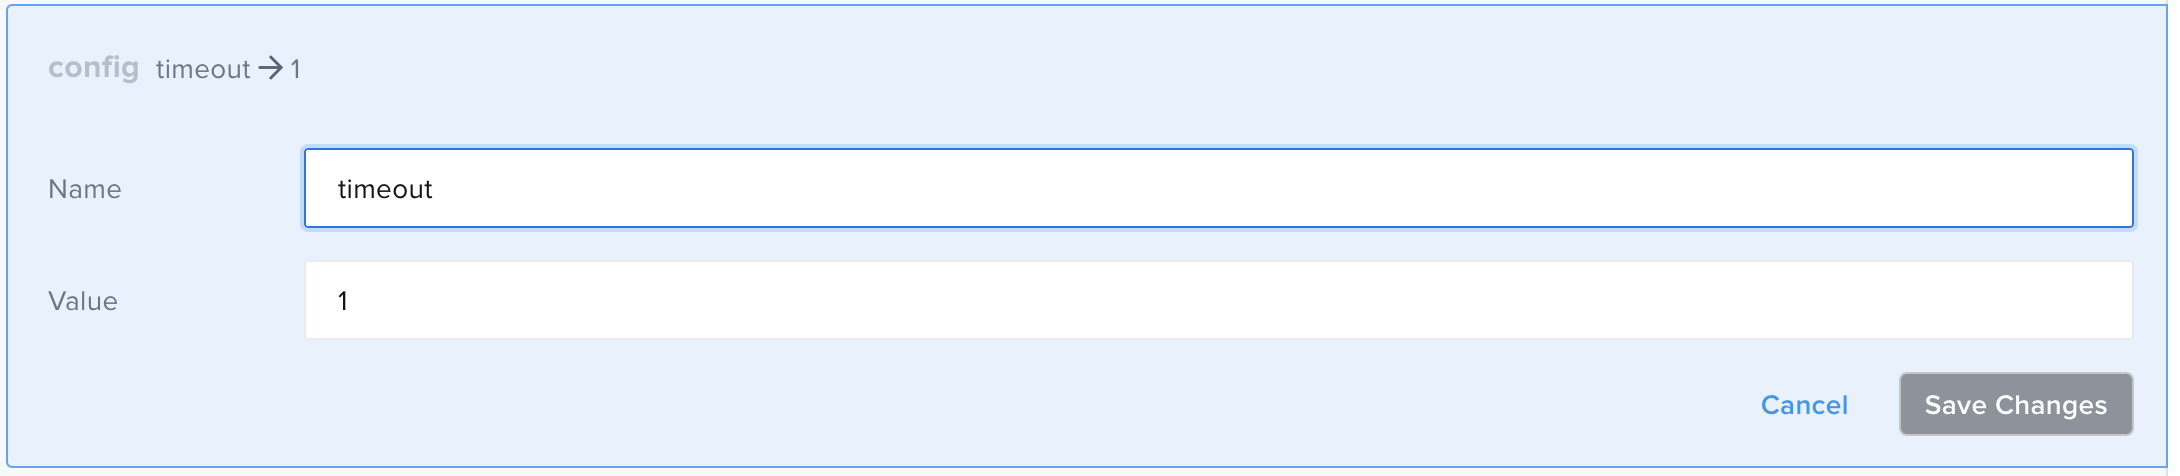
| Fields | |
| Name | | REQUIRED | STRING | It must be |
| Value | | REQUIRED | NUMBER | It sets up the seconds you want the request to timed out. |
Follow-redirects
When the GET request contains a redirect the system automatically follows that redirect and returns the response accordingly. If, for any reason, you need to not follow the redirect, you can use a specific configuration to block it. To do so, you can add the config component in the GET request as follow:

| Fields | |
| Name | | REQUIRED | STRING | It must be |
| Value | | REQUIRED | 'true' (default), 'false' | If 'true' the request will follow the redirect, if 'false' the request will not follow the redirect |
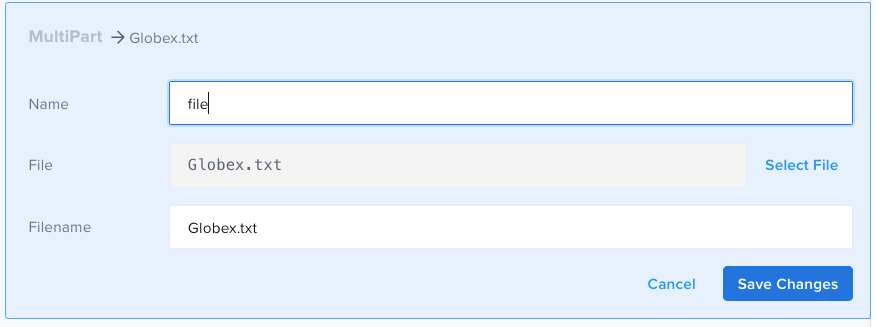
File (Multi-part)
- Click File (Multi-part).
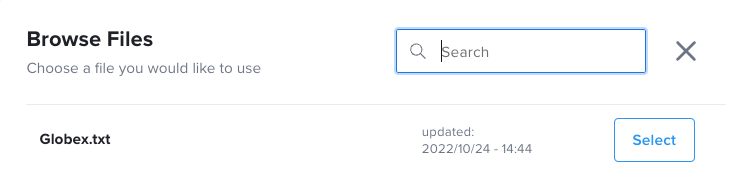
- Click Select for the file you want to use.
- Fill in the Name field.
Code View Example
- id: post
  children:
  - id: param
    name: file
    value: '@file[Globex.txt]:Globex.txt'
  url:
  var:
  mode: json
| Fields | |
| Name | | REQUIRED | STRING | The name of the variable in the I/O request. |
| File | | REQUIRED | STRING | The file from the Vault Drive. |
| Filename | | REQUIRED | STRING | The name you want to assign to the file. |
Basic Authentication
This refers to the Basic Authentication configuration, included in each of the I/O request components. If required for your API tests, enter your authentication credentials here.
- Click Basic Authentication.
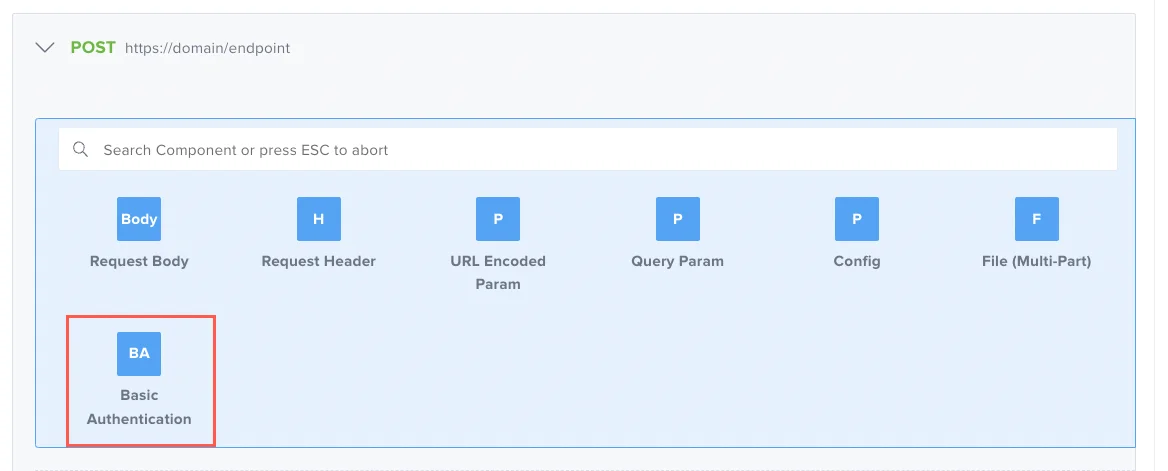
- Fill in the Username and Password fields

Code View Example
- id: post
  children:
  - id: header
    name: Authentication
    value: Basic dXNlcm5hbWU6cGFzc3dvcmQ=
  url:
  var:
  mode: json
| Fields | |
| Username | | REQUIRED | STRING or VARIABLE | The username required for authentication. |
| Password | | REQUIRED | STRING or VARIABLE | The password required for authentication. |
I/O Component Fields
The fields apply to all I/O request components except GitHub, Contract Test, and File DataSource.
Url
| REQUIRED |
In this field, enter the url of the resource you want to test. It could be the full url of the resource (i.e., https://domain/endpoint) or a string with variables (i.e., https://${domain}${endpoint}).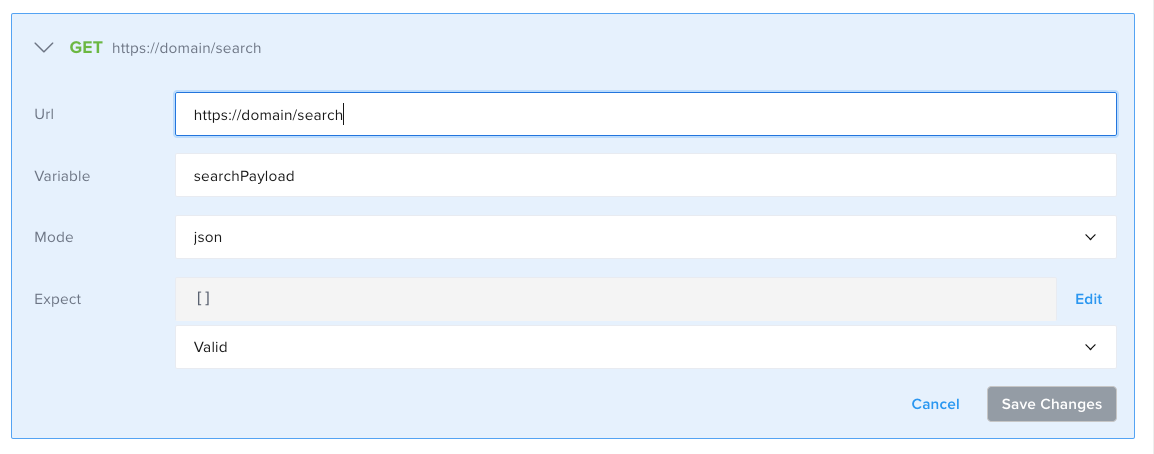
Code View Example
- id: get
  children: []
  url: https://domain/search
  var: searchPayload
  mode: json
Variable
| REQUIRED |
In this field, enter the name of the variable that contains the response (value must be a string). It will be the name you will refer during the test.
Code View Example
- id: get
  children: []
  url: https://domain/search
  var: searchPayload
  mode: json
Expect
| OPTIONAL |
Fill out this field only if the expected behavior differs from a positive response (i.e., 404,500 vs. 200,201). This can be useful when looking to test negative responses and validate error messages. Value must be a string. Possible values are <statusCode>|VALID or <statusCode>|INVALID. VALID means the payload type is the one selected in the mode field (explained in the next step), while INVALID means the opposite. Some examples:
404|VALID: 404 is expected with valid payload422|VALID: 422 is expected with valid payload500|INVALID: 500 is expected with invalid payload
Multiple status codes can be expected by adding them all (i.e., 200|302|400|500|VALID)
Code View Example
- id: get
  children: []
  url: https://domain.com/search
  var: searchPayload
  mode: json
  expect:
  codes:
  - 200
  - 302
  - 400
  - 500
  validity: VALID
Mode
| REQUIRED |
Enter the type of the response you want to test (must be 'json','xml', 'html',or 'text').
Code View Example
- id: get
  children: []
  url: https://domain.com/search
  var: searchPayload
  mode: json
Adding Child Components
Once you've created a component and wish to add child components (that is., need to add request headers, params, or a request body):
- Click Add Child Component.

- Now you'll see the component's available sub-components for that operation.