Coroner Server Setup
This guide goes over the initial setup of coronerd.
Refer to the coronerd installation guide for detailed instructions on installing coronerd on-premises.
-
Login Log in to coronerd by navigating to your coronerd URL in your web browser and entering the username and password of the admin account you created during sign-up.
- For Backtrace-hosted customers, the URL is
https://{yourorganization}.sp.backtrace.io, and you created the login during the sign-up process. - For on-premises customers, the login is the same as the one you created during the steps in the coronerd installation guide.
- For Backtrace-hosted customers, the URL is
-
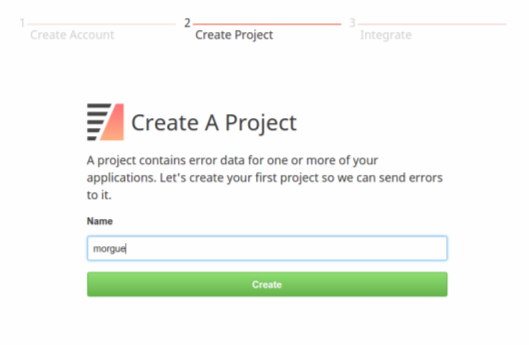
Create a Project After logging in, click Continue, and create your first project by entering a project name.
-
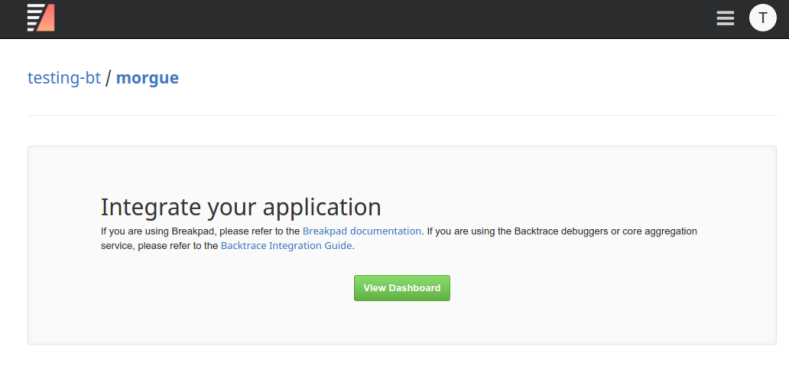
Select an Integration Next, you see a list of integration types. Select the language or framework you want to start with, and the UI provides helpful getting-started information and a link to your dashboard.

In this example, we selected C/C++.
-
Configure Organization Select Configure Organization (represented by a white circle with the first letter of your organization).
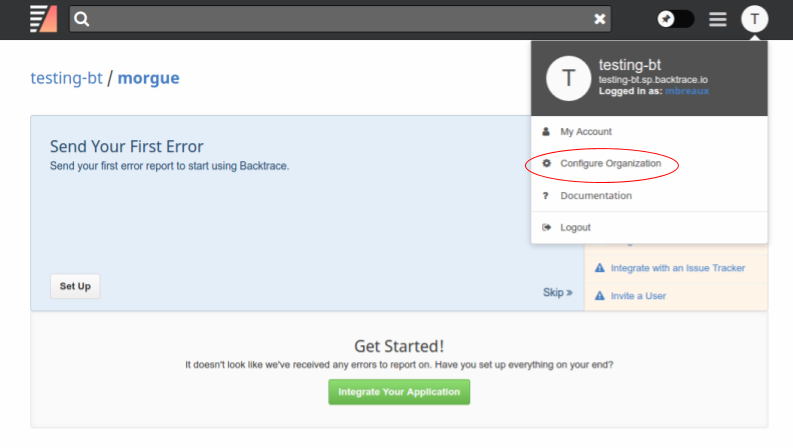
The options available on the left-hand menu are:
-
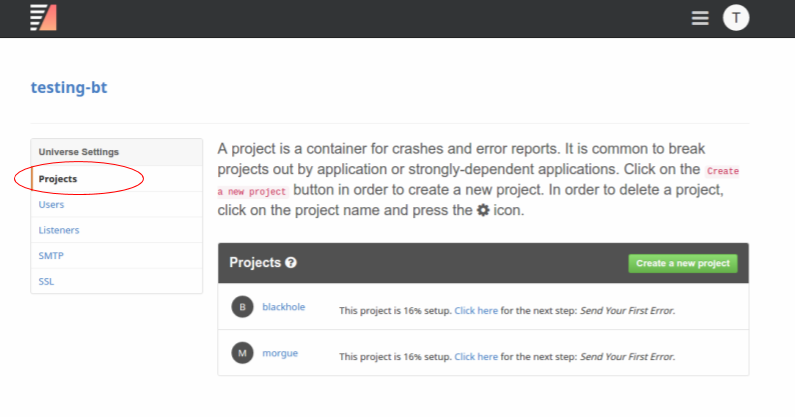
Projects: You can create additional projects or select a project to configure it further. See Configure Project section below for more details.
-
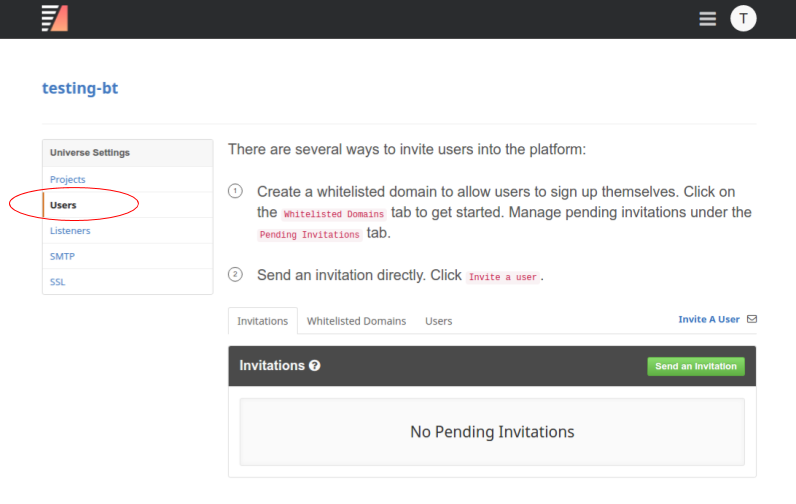
Users: On the user management screen, you can send email invitations to new users to join. You can also allowlist one or more domains from which users can sign up. Additionally, you can manage passwords and access control for individual users. For full details on user management, refer to User Management.
-
Listeners (advanced): For on-premises coronerd installations, the listeners section allows you to specify the ports on which each object store's endpoint listens and configure SSL settings.
-
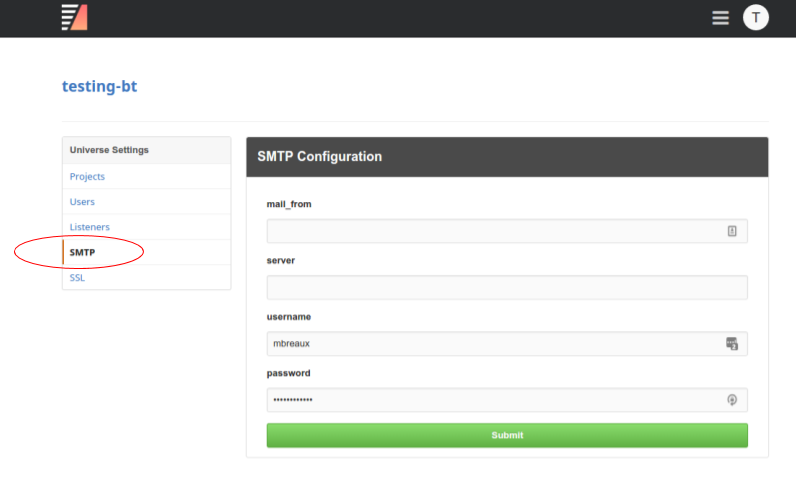
SMTP: Fill in your email SMTP server information here to enable coronerd to send email invitations and reports.
-
SSL: To change your SSL certificates, enter your key, certificate, and chain files in the provided fields.

-
-
Configure Project When you select a project in the Projects section of the Organization config or select Configure Project from the upper-right menu while viewing a project in the dashboard, you access the project configuration page.
-
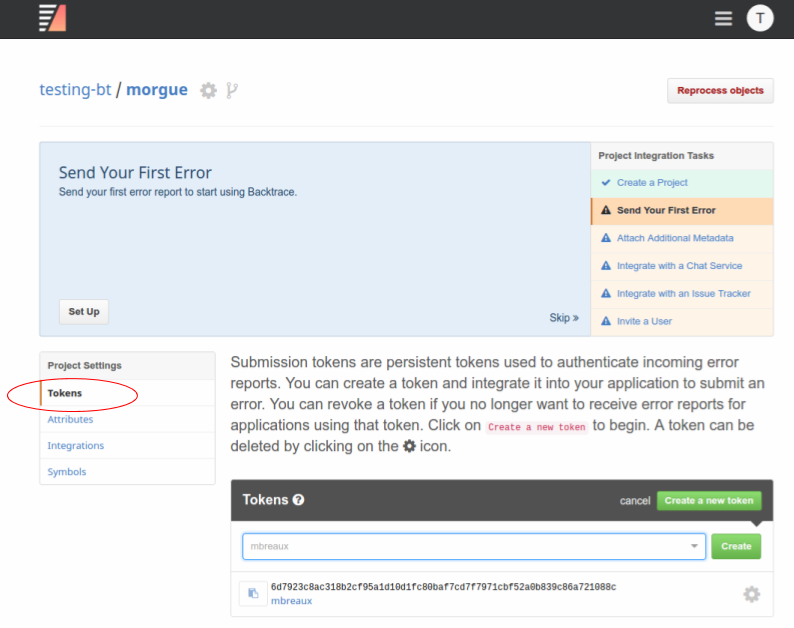
Tokens: Submission tokens allow the upload of crash data and other symbols into a project. To create a token, click Create a New Token and then Create.
-
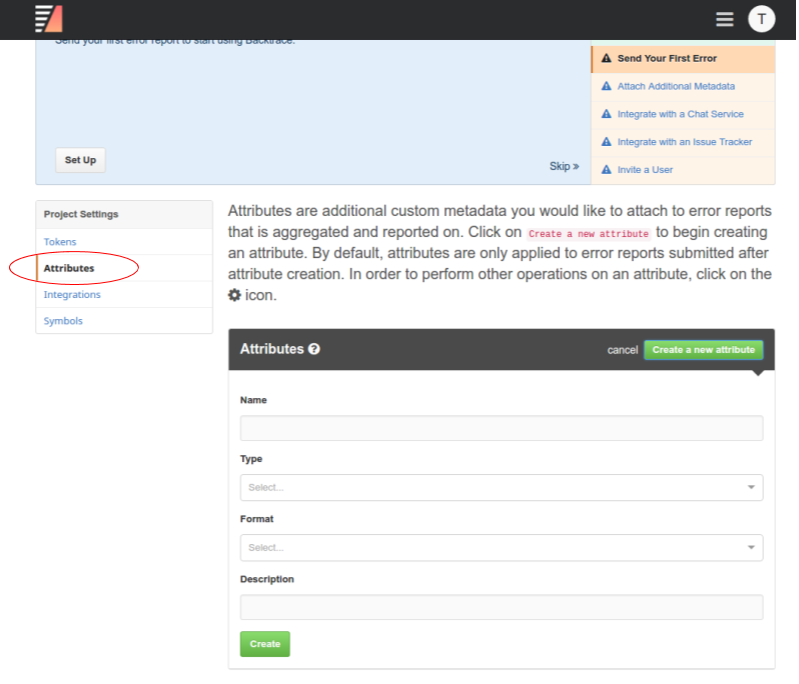
Attributes: Attributes define key metadata points used to generate indices. These coroner indices are used for filtering, visualization, and snapshot retrieval.
Creating an attribute for each metadata point added to your snapshots is recommended. For example, if you add "customer" to each snapshot belonging to this project, you should create an attribute named
customer.To create a new attribute for this project, click Create a New Attribute at the top of the Attributes section, and provide the attribute's name, type, format, and description. Refer to the Attributes Details section below for more information.
-
Attributes Details:
- Name: Name of the attribute.
- Type: Data type of the attribute. The following types are supported:
dictionary: Used to store low cardinality strings (less than 2 billion unique values). Examples include commits, versions, environment, etc. This encoding is efficient in that any string already present in the dictionary only requires 4 bytes of space to store in the column.uint64,uint32,uint16,uint8: Unsigned integer types used to store 64-bit, 32-bit, 16-bit, and 8-bit integers, respectively.
- Format: Format of the data type used for rendering the value. The following formats are supported:
kilobytes,gigabytes,terabytes,bytes: The underlying column stores integer values treated as the specified unit. Only valid for integer types.callstack: The underlying column stores a serialized JSON object representing a callstack as a sequence of strings, where each element represents a function. Only valid for the dictionary type.hostname: The underlying column stores a machine hostname. Only valid for the dictionary type.memory_address: The values represent memory addresses and should be rendered accordingly. Only valid for integer types.seconds: The values represent seconds since a user-defined epoch (for example,process.ageis seconds since process start). This is only valid for integers.unix_timestamp: The values represent a UNIX timestamp. Only valid for integers.js_timestamp: The values represent a JavaScript timestamp (UNIX epoch in milliseconds). Only valid for integers.ipv4: The column stores IPv4 addresses and should be used with the uint32 type. JavaScript must render the value as an IP address.ipv6: The column stores IPv6 addresses and can only be used with the dictionary type.username: The column stores a reference to a coronerd username. Only valid for the dictionary type.sha256: The column stores a SHA256 value. Only valid for the dictionary type.url: The column stores a valid web URL. Only valid for the dictionary type.none: Render the value as is.
- Description: Description of the attribute.
Backtrace recommends creating the following attributes by default:
- version
- dc
-
Workflow Integrations: You can integrate Backtrace into your workflow by configuring coroner to send messages or tickets to various messaging, issue tracking, alerting, or monitoring services. You must create at least one entry in the Integrations section for each workflow integration.
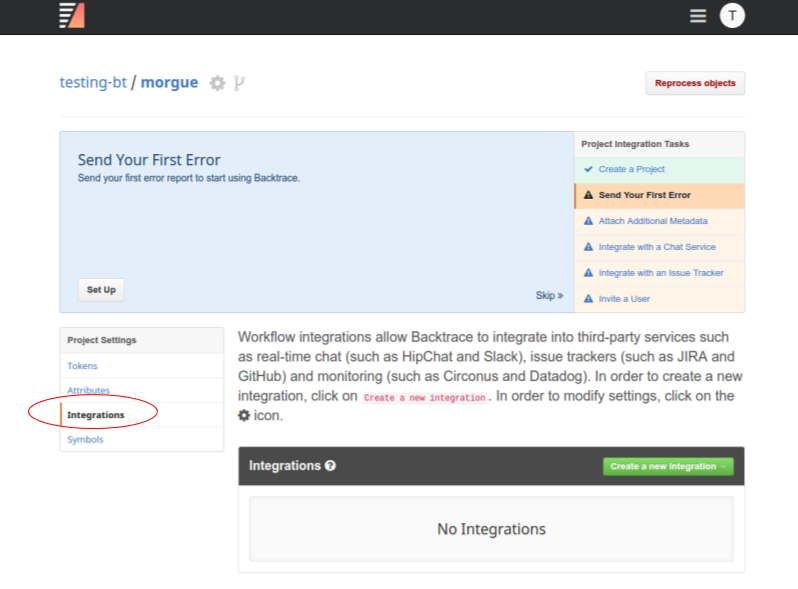
Each integration has its unique settings. For more information, refer to Workflow Integrations or the sub-menu of the integration you want to use in the Integrations menu at the top of the documentation portal.
-