Add Custom Symbol Server
Instead of uploading debug symbols directly to Error Reporting, you can host them on your own symbol server and connect the server to Error Reporting. When Error Reporting processes a crash report that requires a symbol, it automatically retrieves the required symbol from the connected symbol server.
Error Reporting uses the symbold service to retrieve symbols from connected symbol servers. By default, symbold is configured to download symbols from public symbol servers for commonly used libraries, such as those provided by Microsoft and Electron. You can also connect your own private symbol server to centralize symbol management and simplify your debugging workflow.
For information about setting up a symbol server or symbol store, refer to the Microsoft documentation on symbol servers and symbol stores.
Symbol Server Requirements
Before connecting a custom symbol server, ensure that it meets the following requirements:
- Directory structure: Store symbol files using the standard Microsoft symbol server directory structure:
<base-url>/<object-name>/<debug-id>/<file>
-
Generate symbol files: Generate and organize symbol files using platform-specific tools. Use symstore for Windows or Breakpad for Linux to create the required symbol files and directory structure.
-
Host the symbol server: Host the symbol files on a web server that is accessible over HTTP or HTTPS. Common hosting options include NGINX, Amazon S3, and Google Cloud Storage.
-
Network access: Ensure that Error Reporting can access the symbol server. Update firewall or network rules if necessary.
-
Compression: If symbol files are compressed, use the CAB compression format. HTTP compression is also supported.
The required options for generating Breakpad symbols may vary depending on your build environment.
Feature Details
Every time Backtrace receives a report, it is scanned for symbols that do not yet exist in that Backtrace project. A missing symbol event is generated for each of these symbols, and Backtrace then requests symbols from symbol servers accordingly.
Backtrace may request symbols from symbol servers for the following debug file, debug id, code file, and code id combinations, to support a variety of customer upload patterns:
- symbol_name = basename(debug_file); id = debug_id, if debug_file and debug _identifier are available
- symbol_name = basename(code_file); id = code_id, if code_file and code_id are available and arch=x86_64
- symbol_name = basename(code_file); id = debug_id, if code_file and debug_id are available and arch=x86_64
For each of these, Backtrace will concurrently attempt to download from the following URLs from a symbol server. As the first successfully downloaded binary will be used for the purposes of symbolication it is advised to respond to only one of these URLs:
- base-url/symbol_name/id/symbol_name
- base-url/symbol_name/id/symbol_name_with_underscore_extension
- base-url/symbol_name/id/symbol_name_with_sym_extension
Where "symbol name with underscore extension" = replace last character of symbol name with underscore, '_' (this is typically used as the file extension for CAB compressed binaries on Windows) and where "symbol name with sym extension" = replace or append the extension ".sym" to the symbol name.
For example, if symbol_name = foo.pdb and id = 123, the following URLs are queried:
- base-url/foo.pdb/123/foo.pdb
- base-url/foo.pdb/123/foo.pd_
- base-url/foo.pdb/123/foo.sym
It is important that symbol servers only host valid symbol files. Symbolication may fail if multiple files exist in these paths, with one containing a valid symbol file and others are invalid.
Connect Error Reporting to a Custom Symbol Server
After your symbol server is configured and accessible, connect it to your Error Reporting project.
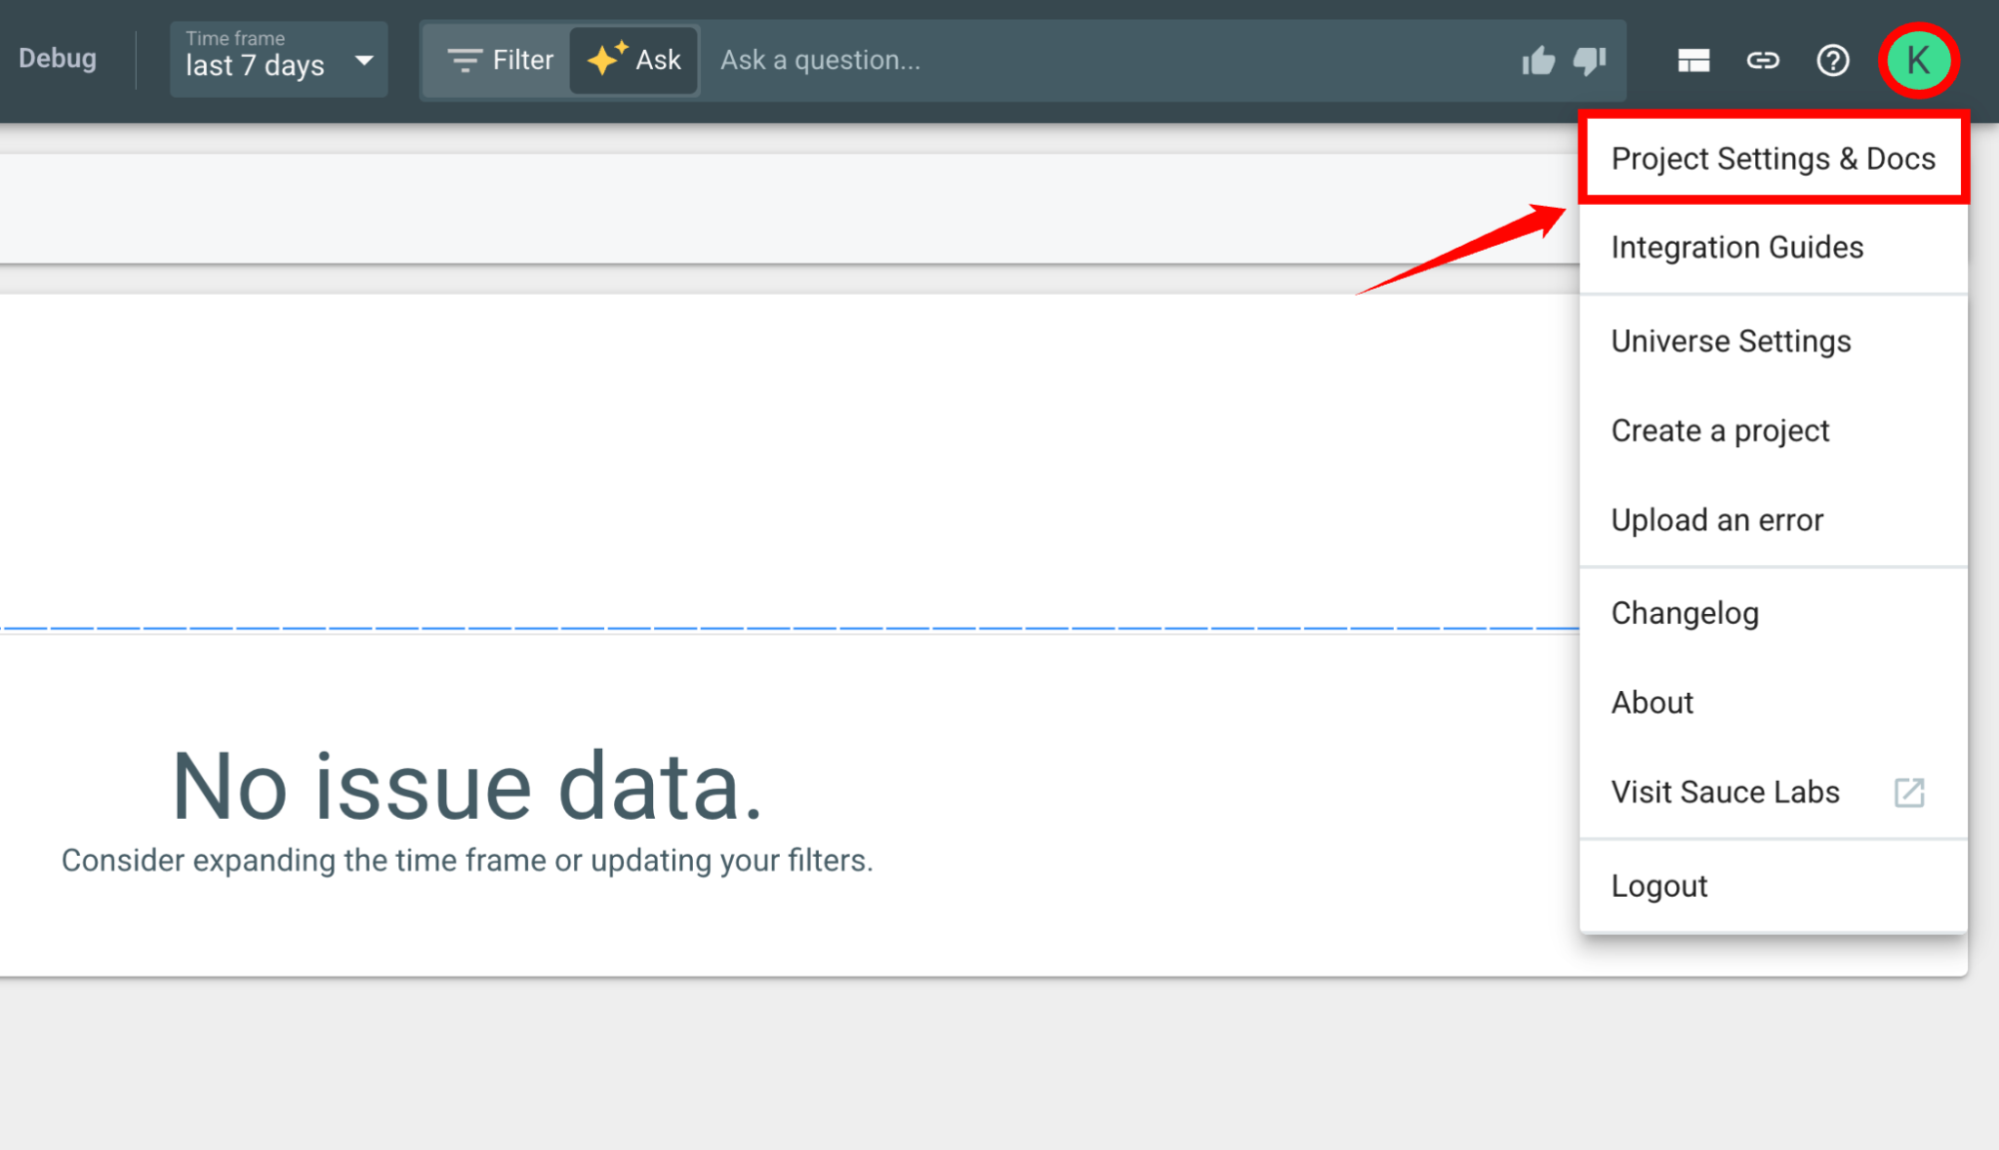
Step 1: Open the Error Reporting project where you want to upload symbols. In the upper-right corner, click your profile icon, and then select Project Settings & Docs.
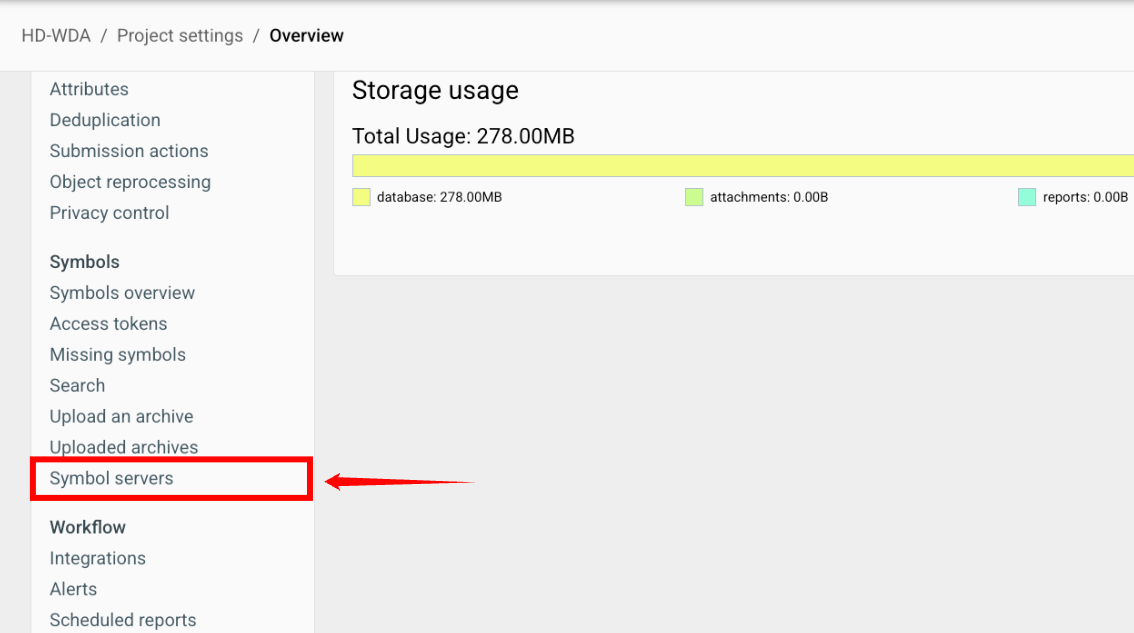
Step 2: In the left navigation pane, expand Symbols, and then click Symbol Servers.
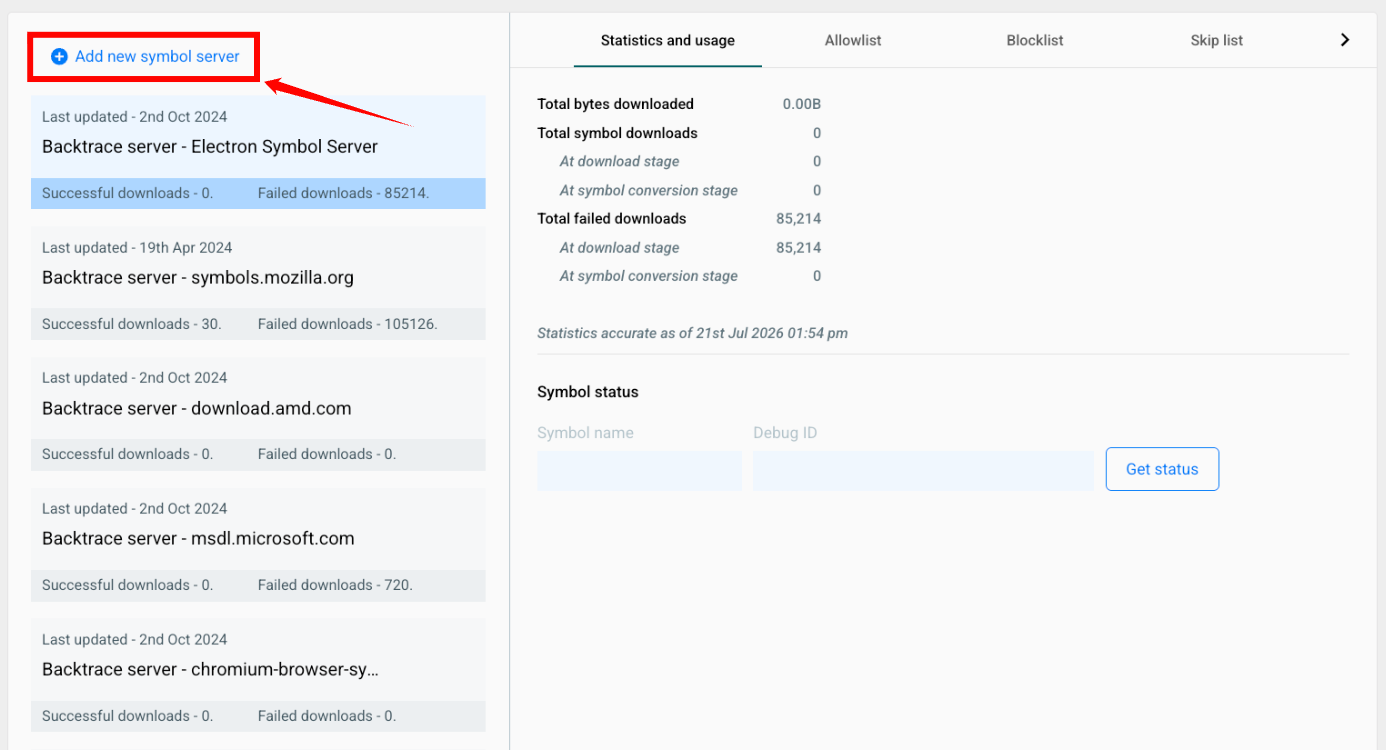
Step 3: On the Symbol Servers page, click Add new symbol server.
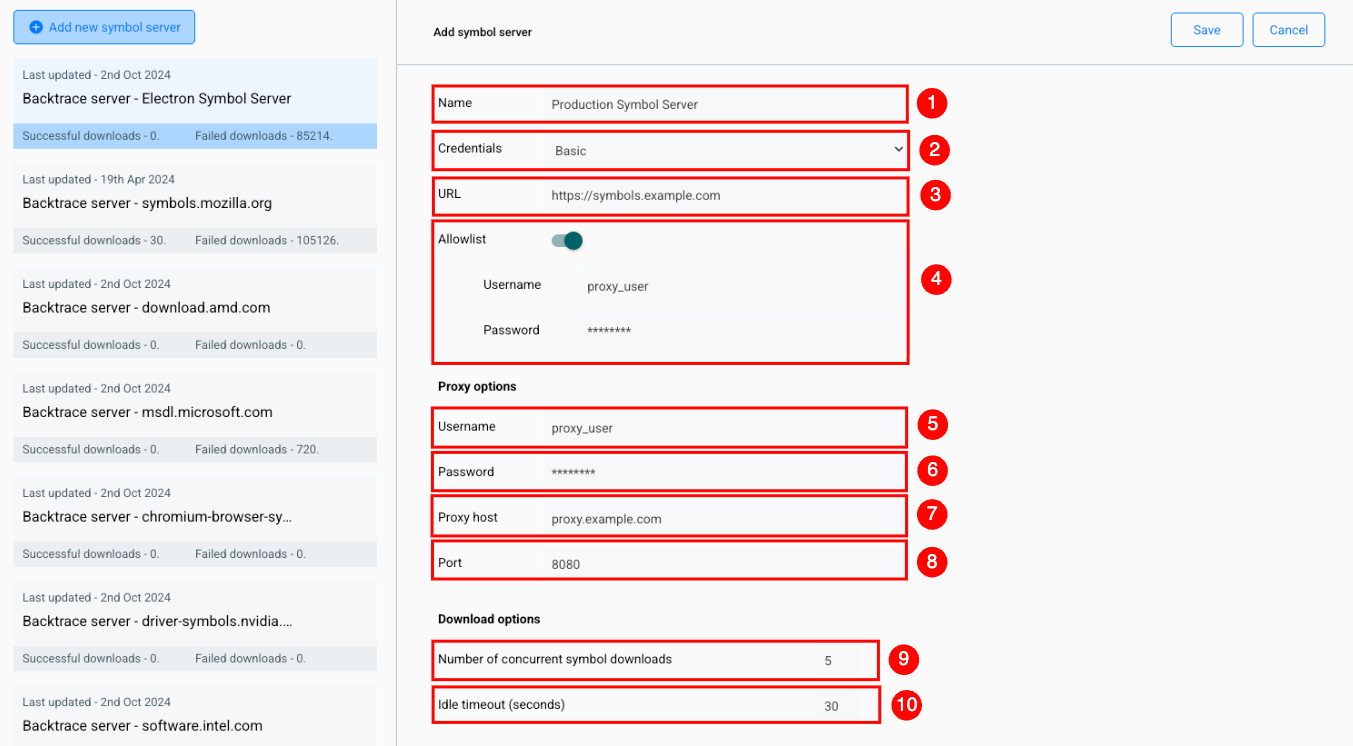
Step 4: Enter the required symbol server details, as described in the following table.
| Ref. | Field | Description |
|---|---|---|
| 1 | Name | Enter a descriptive name for the symbol server connection, such as the project, platform, or environment it contains symbols for. |
| 2 | Credentials | Select the authentication method for the symbol server. Supported options are None, Basic, AWS, and Google Cloud. |
| 3 | URL | Enter the HTTPS URL of the symbol server or storage bucket. For Amazon S3, use the HTTPS endpoint for the AWS region where the bucket is hosted. |
| 4 | Allowlist | Enable this option to allow Error Reporting to download only the symbols specified in the allowlist. If disabled, Error Reporting downloads any required symbols available on the server. |
| 5 | Proxy Username | Enter the username required to authenticate with the proxy server, if applicable. |
| 6 | Proxy Password | Enter the password for the proxy server, if applicable. |
| 7 | Proxy Host | Enter the hostname or IP address of the proxy server. |
| 8 | Port | Enter the port number used by the proxy server. |
| 9 | Number of Concurrent Symbol Downloads | Specify the maximum number of symbol files that Error Reporting can download simultaneously. |
| 10 | Idle Timeout (seconds) | Specify how long Error Reporting waits for a symbol download request before timing out. |
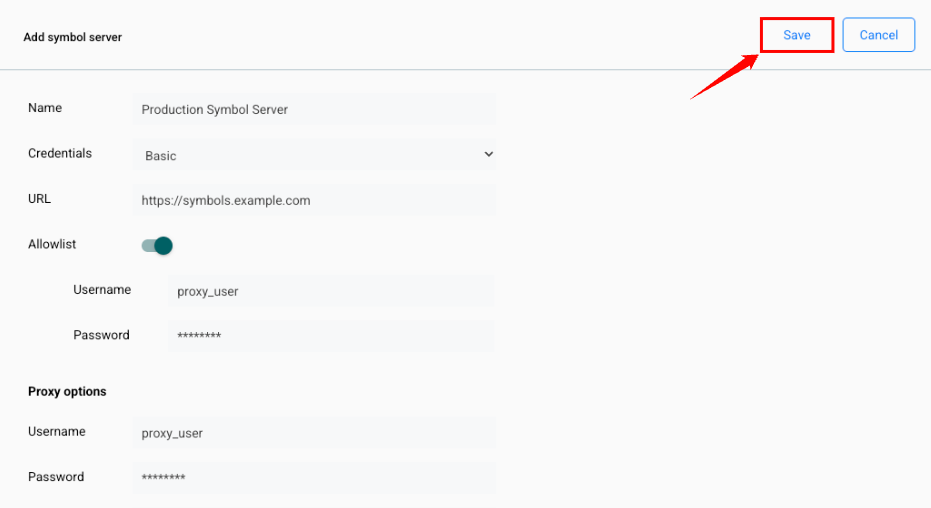
Step 5: Review the configuration, verify the connection details, and then click Save. Error Reporting automatically retrieves missing symbols from the configured server when required.
Manage Symbol Servers
After adding a custom symbol server, you can monitor its activity and manage symbol downloads from Project Settings & Docs > Symbols > Symbol Servers.
Statistics and Usage
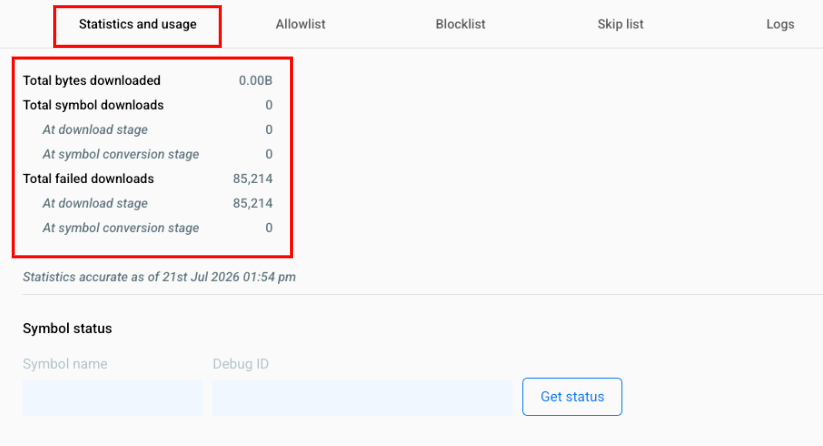
The Statistics and Usage tab provides an overview of the symbol server's activity. Use this tab to monitor download statistics and verify the status of symbol retrieval.
The page displays information such as:
- Total data downloaded.
- Total symbol downloads.
- Successful and failed downloads.
- Download and symbol conversion statistics.
- The current status of individual symbols.
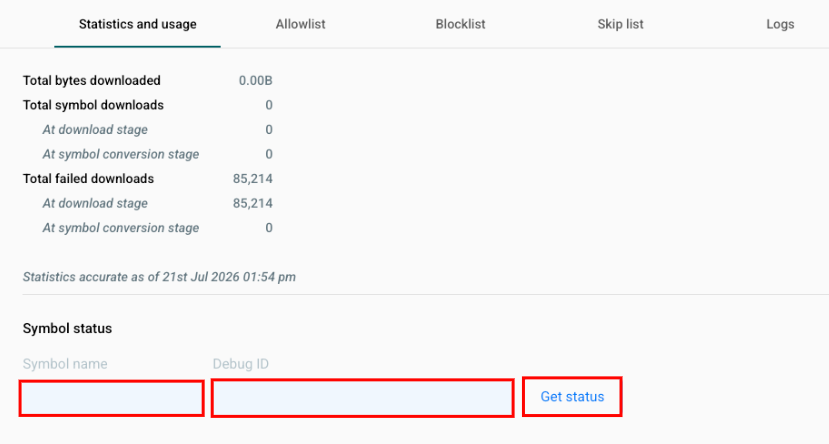
You can also check the status of a specific symbol by entering its Symbol name and Debug ID, and then clicking Get status.
Allowlist
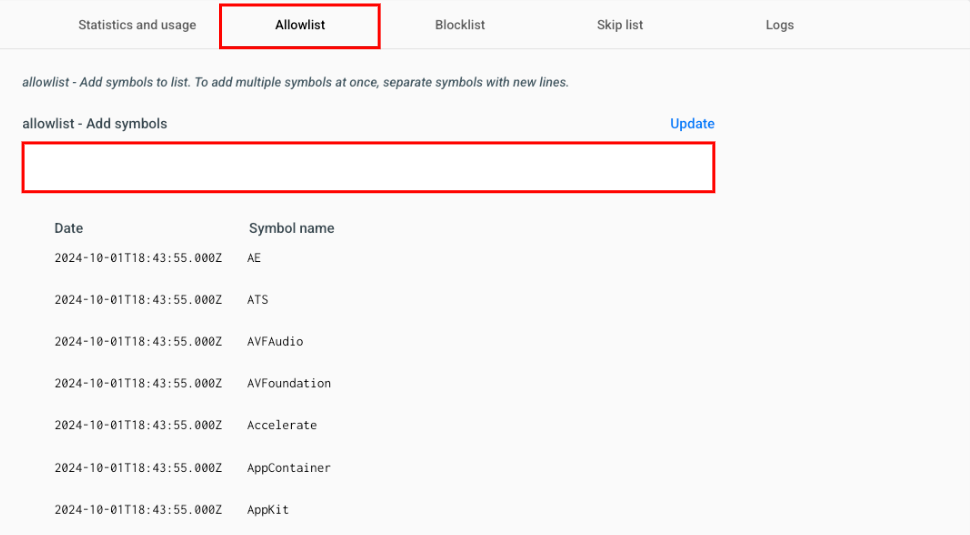
The Allowlist specifies which symbols Error Reporting is allowed to download from the symbol server.
When the allowlist is enabled, Error Reporting downloads only the symbols included in the list. This helps reduce unnecessary downloads and improves symbol lookup performance.
To add symbols, select the Allowlist tab, enter one or more symbol names in the Add symbols field (enter each symbol on a new line to add multiple symbols), and then click Update to save the changes.
Error Reporting enables allowlists by default for public symbol servers and pre-populates them with commonly used symbols.
Blocklist
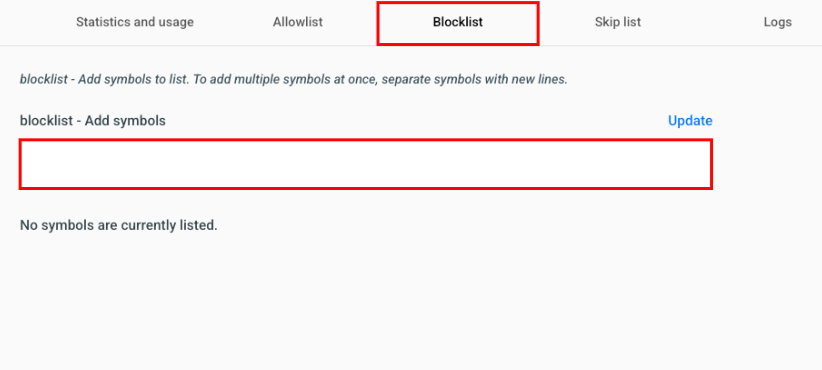
The Blocklist specifies symbols that Error Reporting should never download from the symbol server.
Add symbols to the blocklist if they do not improve symbolication, are too large, change frequently, or are not required for debugging.
To add symbols, select the Blocklist tab, enter one or more symbol names in the Add symbols field (enter each symbol on a new line to add multiple symbols), and then click Update to save the changes.
Skip List
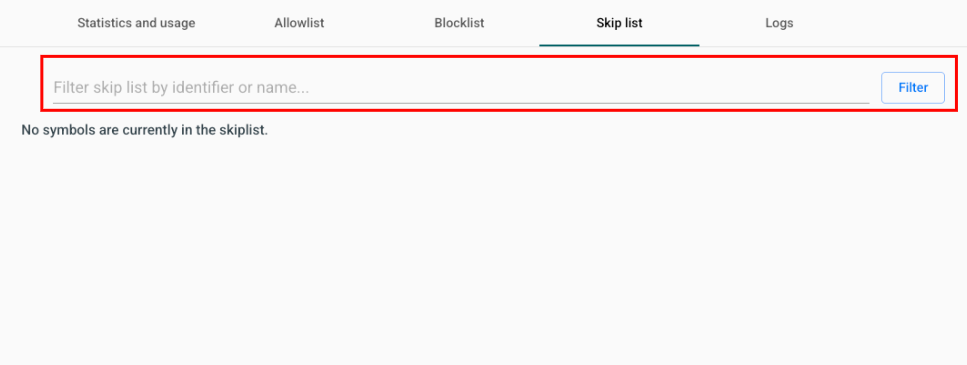
The Skip List displays symbols that could not be downloaded after the configured number of retry attempts.
Symbols in the skip list are temporarily skipped during future download attempts until they are removed or expire automatically.
Use the Filter field to search for a specific symbol in the skip list.
Skip list entries are automatically removed after approximately 12 hours.
Logs
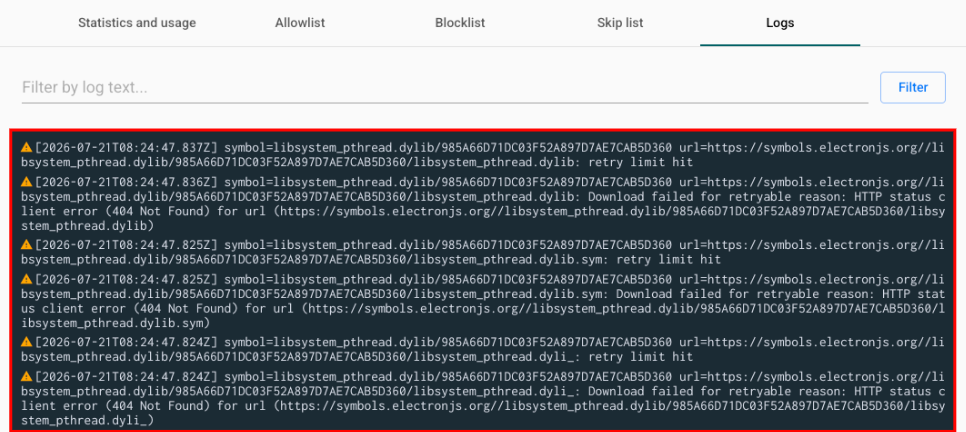
The Logs tab displays the download history for the selected symbol server.
Use this tab to review:
- Successful and failed download attempts.
- Retry attempts.
- Symbol conversion activity.
- Error messages generated during symbol retrieval.
Use the Filter field to search for specific log entries and help troubleshoot symbol download issues.