Auto-Update
Auto-update is a feature that allows you to seamlessly push new versions of your app to users, ensuring that everyone is always using the latest version. By enabling auto-update, users with older versions of the app will receive a notification prompting them to update the next time they use the app.
Auto-update is not available in production.
Configuring Auto-Update
There are two ways to configure auto-update for a specific build:
- In Build Settings
- Via Upload API
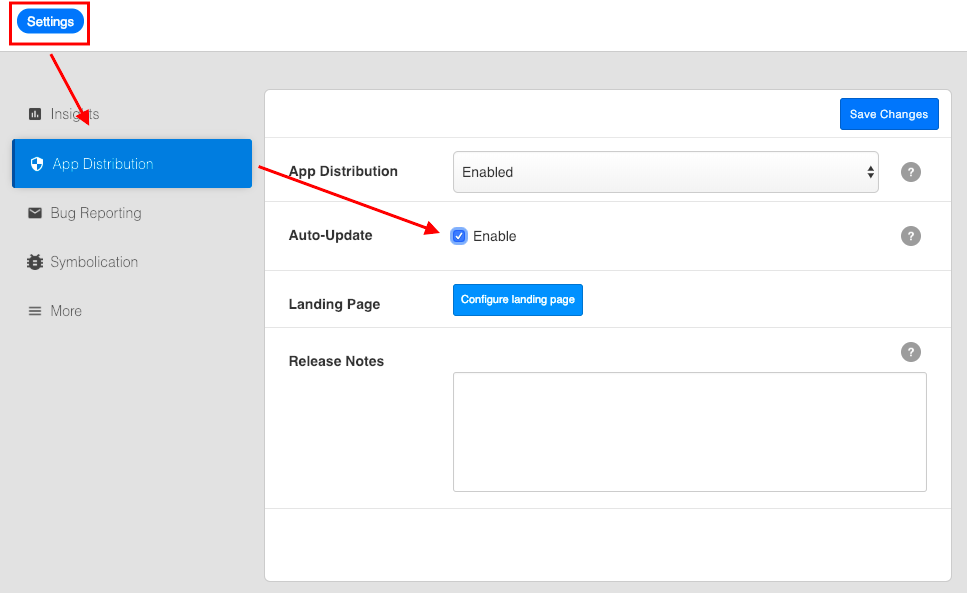
In Build Settings
After uploading a build, access the build settings and navigate to the Sauce Mobile App Distribution section. Here, you can select the Auto-Update checkbox to enable auto-update for the build.
Via Upload API
When uploading a new build via the upload API, set the auto-update parameter to on.
Implementing Auto Update in Your App
To detect if there is a new version, we will be using the getDistributionStatus
method. This method is also used to detect if the current version is still available
for distribution. You can read more regarding Invalidating Apps.
curl -XPOST \
    "https://mobile.saucelabs.com/services/?method=testfairy.session.getDistributionStatus" \
    -F token=$TESTFAIRY_APP_TOKEN \
    -F platform=0 \
    -F bundleIdentifier=com.saucelabs.mydemoapp.android \
    -F bundleVersion=22 \
    -F bundleShortVersion=2.0.1
And the response would include the fields "status" and "autoUpdateDownloadUrl" (optional). Like so:
{
    "status": "enabled",
    "autoUpdateDownloadUrl": "https://mobile.saucelabs.com/download/XXXXXXX"
}
status: Is the distribution of the current version still allowed? Useful for invalidating specific versions after distribution.autoUpdateDownloadUrl: Optional string, if available, points to the URL the end user needs to open in a browser.
Reasons Auto-Update May Fail
Auto-update may fail for the following reasons:
- The version number and name of the new build are the same as the old one. Auto-update only works when versions are different.
- (iOS) The app is not signed with an ad-hoc or enterprise certificate.
- (Android) The sign certificates for each version are different. If an app does not sign with the same certificate, auto-update is rejected. This is because it's impossible to install the new version without previously uninstalling the current one.
Notes on Security
getDistributionStatus is called from within your mobile app. It uses TestFairy App Token, which is a public token that cannot be used to make changes on the platform.
If your app is publicly available for download, the returned URL is for a direct download (only for Android). Otherwise, the returned URL is of a download page, which will require re-authentication before the build can be downloaded.
Also, note that only 1 build version can be marked for auto-update. This may point to any version, not necessarily a version that the current tester has been invited to. Please plan your auto-update policy.