Managing Release Notes
Release notes provide important information about app updates or new builds to users and stakeholders. You can update release notes using various methods, depending on your preferred workflow and tools. Here are the available options:
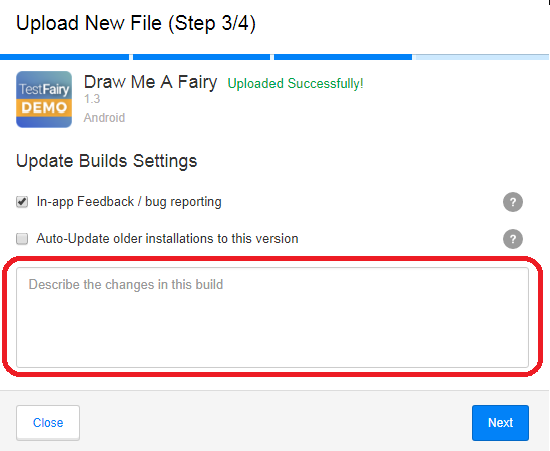
During Upload
When uploading a new app or version on the dashboard, enter the release notes on the last screen after the app is uploaded.
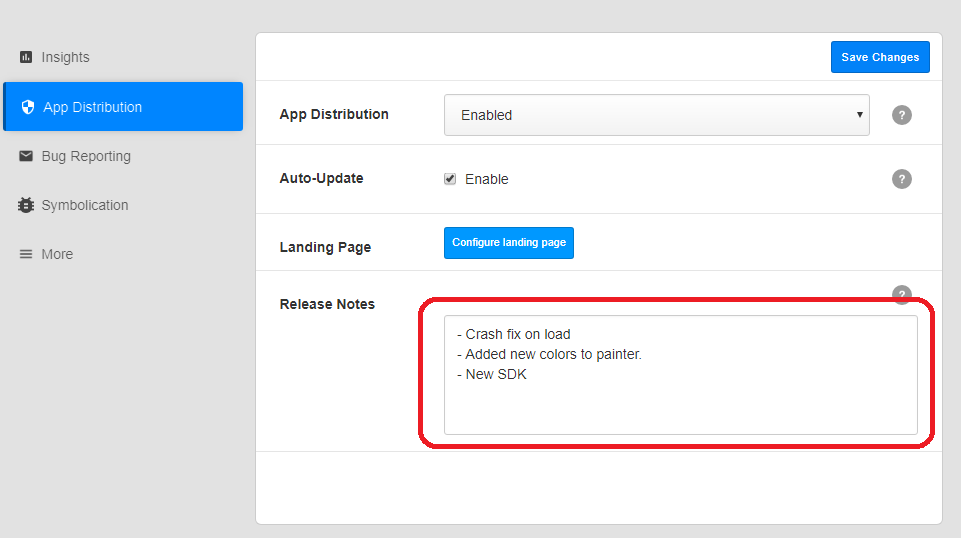
In Build Settings
After an app or new build is uploaded, open the build settings and modify the release notes under Sauce Labs Mobile App Distribution.
Via Upload API
The recommended method for uploading apps is through the upload API. (see Upload API /testfairy/api-reference/upload-api for more information).
To add release notes, use the comment field.
For example:
curl https://app.testfairy.com/api/upload \
    -F api_key='your_api_key' \
    -F file=@sample.apk \
    -F symbols_file=@sample_mapping.txt \
    -F testers_groups='friends,beta' \
    -F notify='on'\
    -F comment='Put Release Notes Here'
Using Jenkins
By default, the Jenkins plugin uses the comments included in every commit in a pretty standard way. To add your release notes, create a text file in the following location:
$JENKINS_HOME/jobs/$JOB_NAME/builds/$BUILD_ID/testfairy_change_log
The content of this file overrides the default changelog.
Stylizing Release Notes
You can use Markdown syntax to stylize the release notes and the app description. Markdown is supported in the release notes section, as well as in the app description displayed in email invitations, landing pages, and testers' dashboard tooltips.